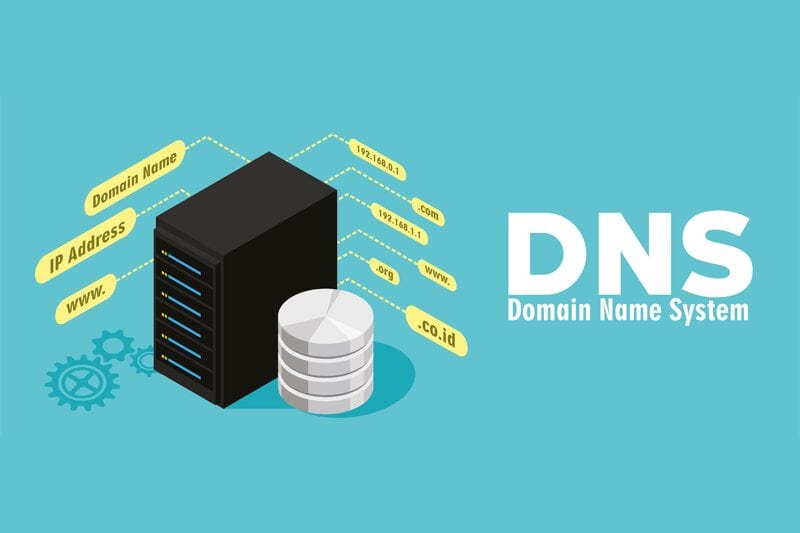
What is DNS?
DNS is short for ‘Domain Name System’. It is a free service that lets you load a webpage by typing a friendly domain name in the address bar of the browser. Every computer, device, server, connected to a network has a unique IP address (Example: 123.45.987.21) that computers understand to communicate with each other. When you type a web address the computer decodes it into an IP address using the DNS service and displays the contents on your mobile or computer screen. The entire process happens in milliseconds and you do not even notice it. The IP address corresponding to a domain name is called a DNS record.
How does it work?
The management of DNS records can be easily understood by comparing it with a phonebook. A phonebook contains all the phone numbers in a standardized format, which is an alphabetical order in that case. Whenever you want to find the phone number of a particular person, you look for the first letter of his name and then search his name. In the list, there is his name, telephone number, address, and other information. The same is the case with your DNS records.
Uses of DNS record:
A DNS record is a record of your IP address, it is a way to communicate between two hostnames, it identifies a name server, it establishes the mail receiving servers and it also priorities the mail servers in the event of one becoming full, it helps in reducing domain spoofing and spam through the implementation of TXT/SPF record, through SRV records it establishes a connection between a service and a hostname, through private name servers it lets you develop your own name server instead of using the generic ones, and assigning a particular address to your domain against a specific IP.
DNS record types:
Some of the most commonly used DNS record types are A record, AAAA record, CNAME record, TXT record, MX record, NS record, PTR record, etc. Each type performs a specific function. For example, A & AAAA records are for IP address resolution, TXT and MX are for email authentication, etc. There are specialized DNS records too like CAA, PTR, SOA, SRV, etc.
Managing DNS settings
GoDaddy:
Managing DNS settings of domains registered with GoDaddy is very simple. Let us break down the process in these easy to follow steps for you;
1. First of all you have to log in to your GoDaddy Domain Control Center.
2. Find your domain name from the list and go to the Domain settings page.

3. Once on the Domain settings page, select Additional Settings and then choose Manage DNS.
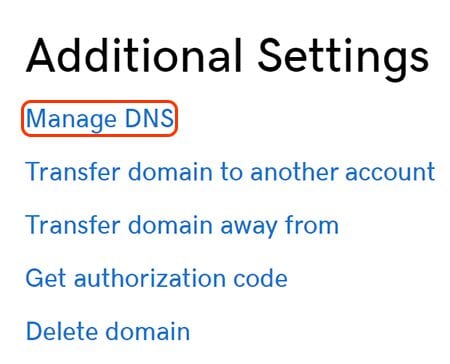
4. Your current DNS settings will be shown under Records.

5. You can now add, delete, modify, the DNS settings as you desire.
Google Domains:
For managing DNS settings on your Google domain you have to follow these simple steps:
- First you need to log on to the Google Domain’s page.
2. After logging in, a list of domains will open up before you. Select the domain name whose DNS settings you want to manage and choose “DNS” against it.

3. Now you have the option to edit the DNS settings as and how you want. Perform the needed changes and update the DNS settings before logging out.
Cloudflare:
Cloudflare automatically scans all the DNS records against a domain when you first enter it into the Cloudflare system. For manually adding the DNS record, you can follow these simple steps;
1. Sign in to the Cloudflare dashboard.
2. Click the relevant Cloudflare account against the domain where you will add the DNS record.
3. Make sure that you select the right domain
4. Now click the DNS app
5. The UI interface will appear for adding DNS records under the header of DNS Records.
6. You can now change Name with a sub or a root domain.

If your domain is added to Cloudflare via a third-party hosting partner, you have to manage the DNS setting through that hosting partner. The Cloudflare DNS app will inform you to manage the DNS setting outside the Cloudflare interface.
OpenDNS:
OpenDNS is among the popular hosted DNS service givers. It gives protection against internet theft by providing anti-phishing and filtering features. Here is how you can manage the DNS settings in OpenDNS:
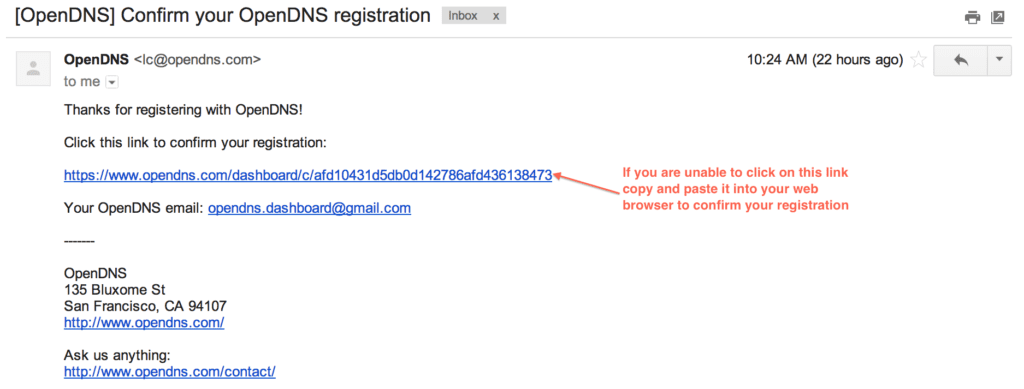
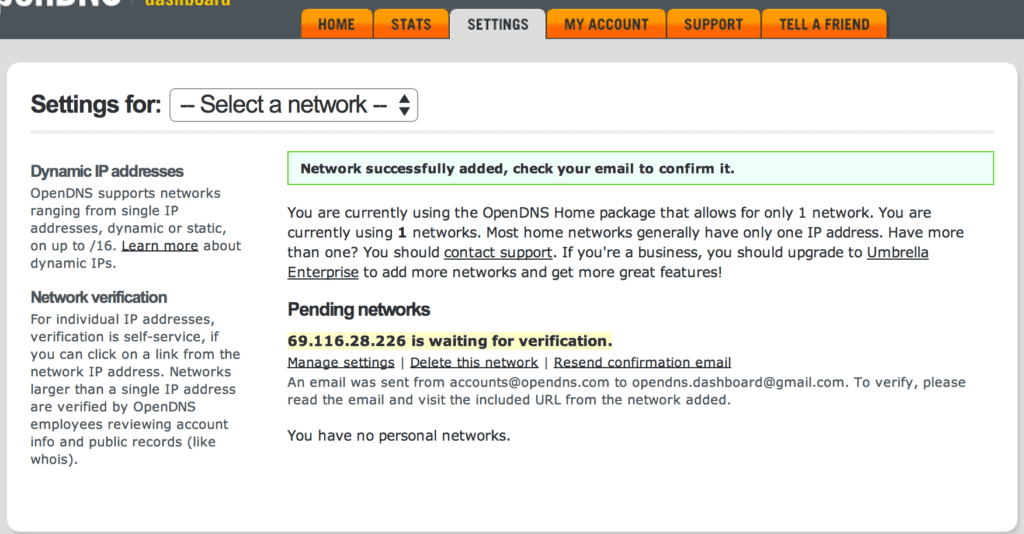
1. First you have to confirm your account after you have configured your device with OpenDNS. The confirmation is a clickable hyperlink given in the confirmation email that will verify your account with OpenDNS. If you cannot click on the hyperlink, you can copy/paste the hyperlink’s address in your browser and get your account confirmed.
2. Once confirmed you will be automatically sent to the dashboard that will ask you to add a network.

3. When you click on Add a network will be shown the following screen that is asking you to input the IP address. You should use the IP address provided by your ISP. If you are on a home network, you will see your own IP address displayed at the top of the dashboard where it says it is your current IP address. You can use that in the IP address field.
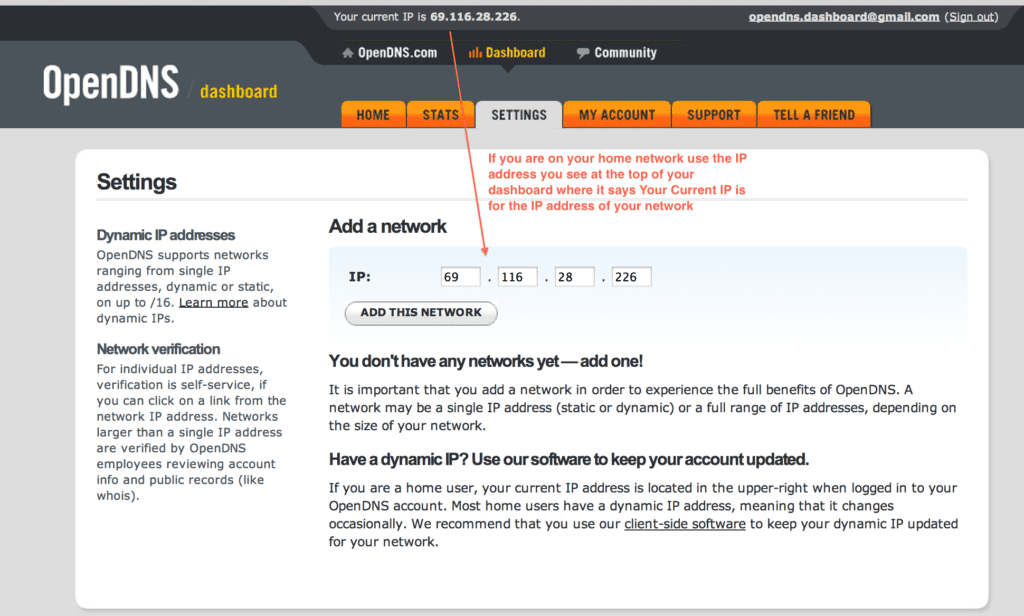
4. After that you will be asked to name your network and confirm if it is a dynamic IP address or not? You can ask your ISP about that. Usually IP addresses assigned by the ISPs are dynamic.
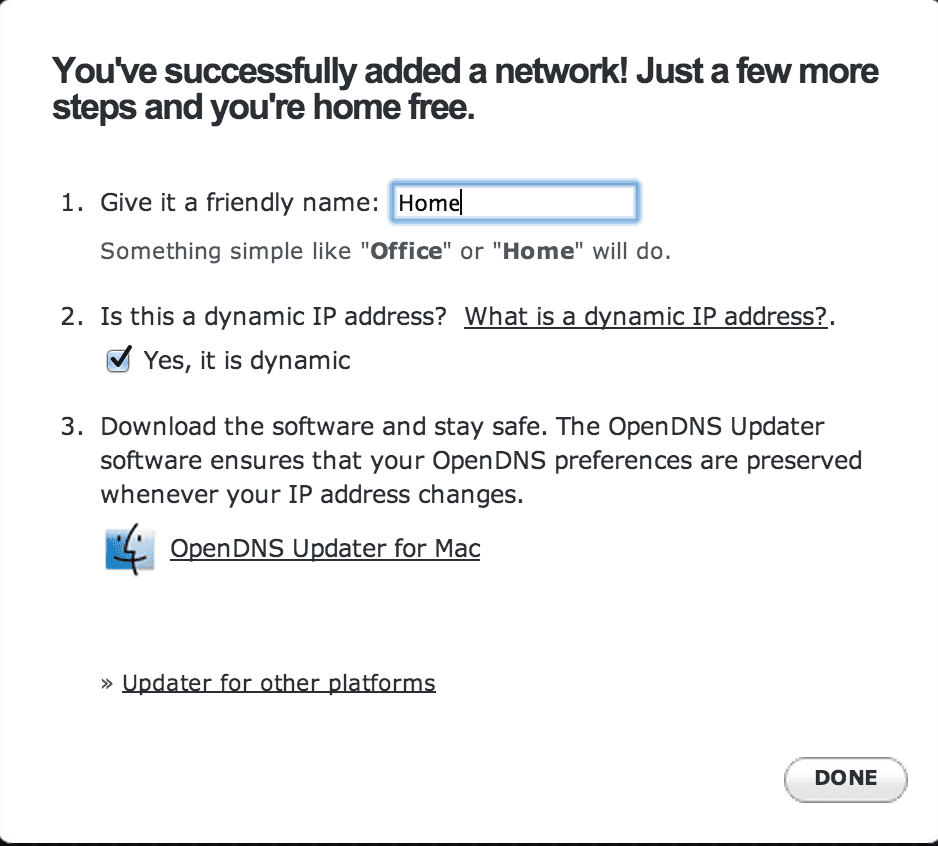
5. Lastly, you will be sent an email that contains a link to verify your email address. You should click on that and verify your IP address. You will be redirected to the dashboard.
cPanel:
CPanel is one of the best-known and most popular web-hosting platforms out there. The best thing about it is its easy-to-understand graphical interface and automation tools. Here is how you can manage the DNS setting within the CPanel’s environment.
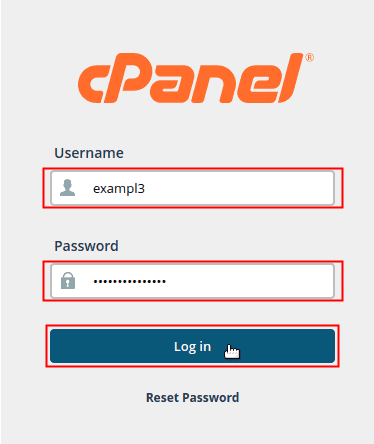
1. First of all you have to log in with a username and password. It should be the same username for whose domain you are going to manage the DNS record.
2. Find the Domains section and then click on the Zone editor image.

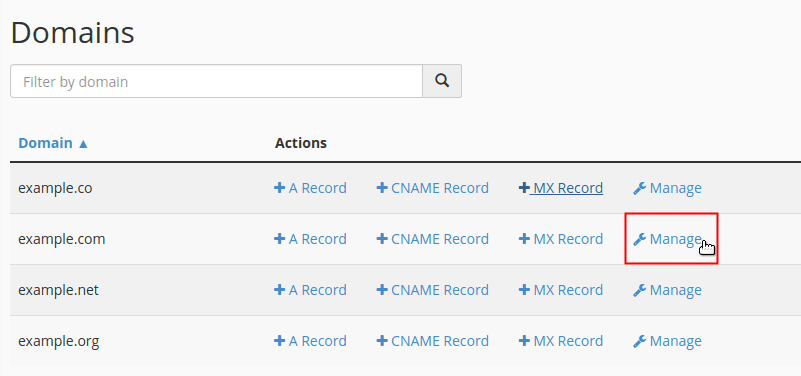
3. Now look for your domain in the list under the Domain heading. After you have found your domain, click on the Manage icon against your domain name.
4. You can now edit the DNS record as you want.
Conclusion:
So this was all about DNS, DNS settings, and how to edit and manage them as and when needed. We hope you would find this information helpful. Managing DNS settings is not that difficult. You just have to be aware of the interface of the particular web hosting platform that you are working in. The procedure itself is simple enough to understand and follow.
Explore more about DNS record type – WIKIPEDIA
In case you hosted and created your Website at our “Managed Hosting Plan” then you are able to use DNS setting any way by which you can create/add/remove/change any type of records easily as well as customers are allowed to create custom “Name Servers” for their domain.
